Extracting Data from Paper Forms

Stipa Cloud can help you organize and store any data you might have filed away as paper forms. Simply upload a PDF or image of your forms of interest, and Stipa Cloud will automatically generate a Stipa Protocol, extract the handwritten or typed entries, and validate the entries in minutes. The data can then be uploaded to Stipa Cloud and accessed like any other data conforming to the Stipa Data Specification.
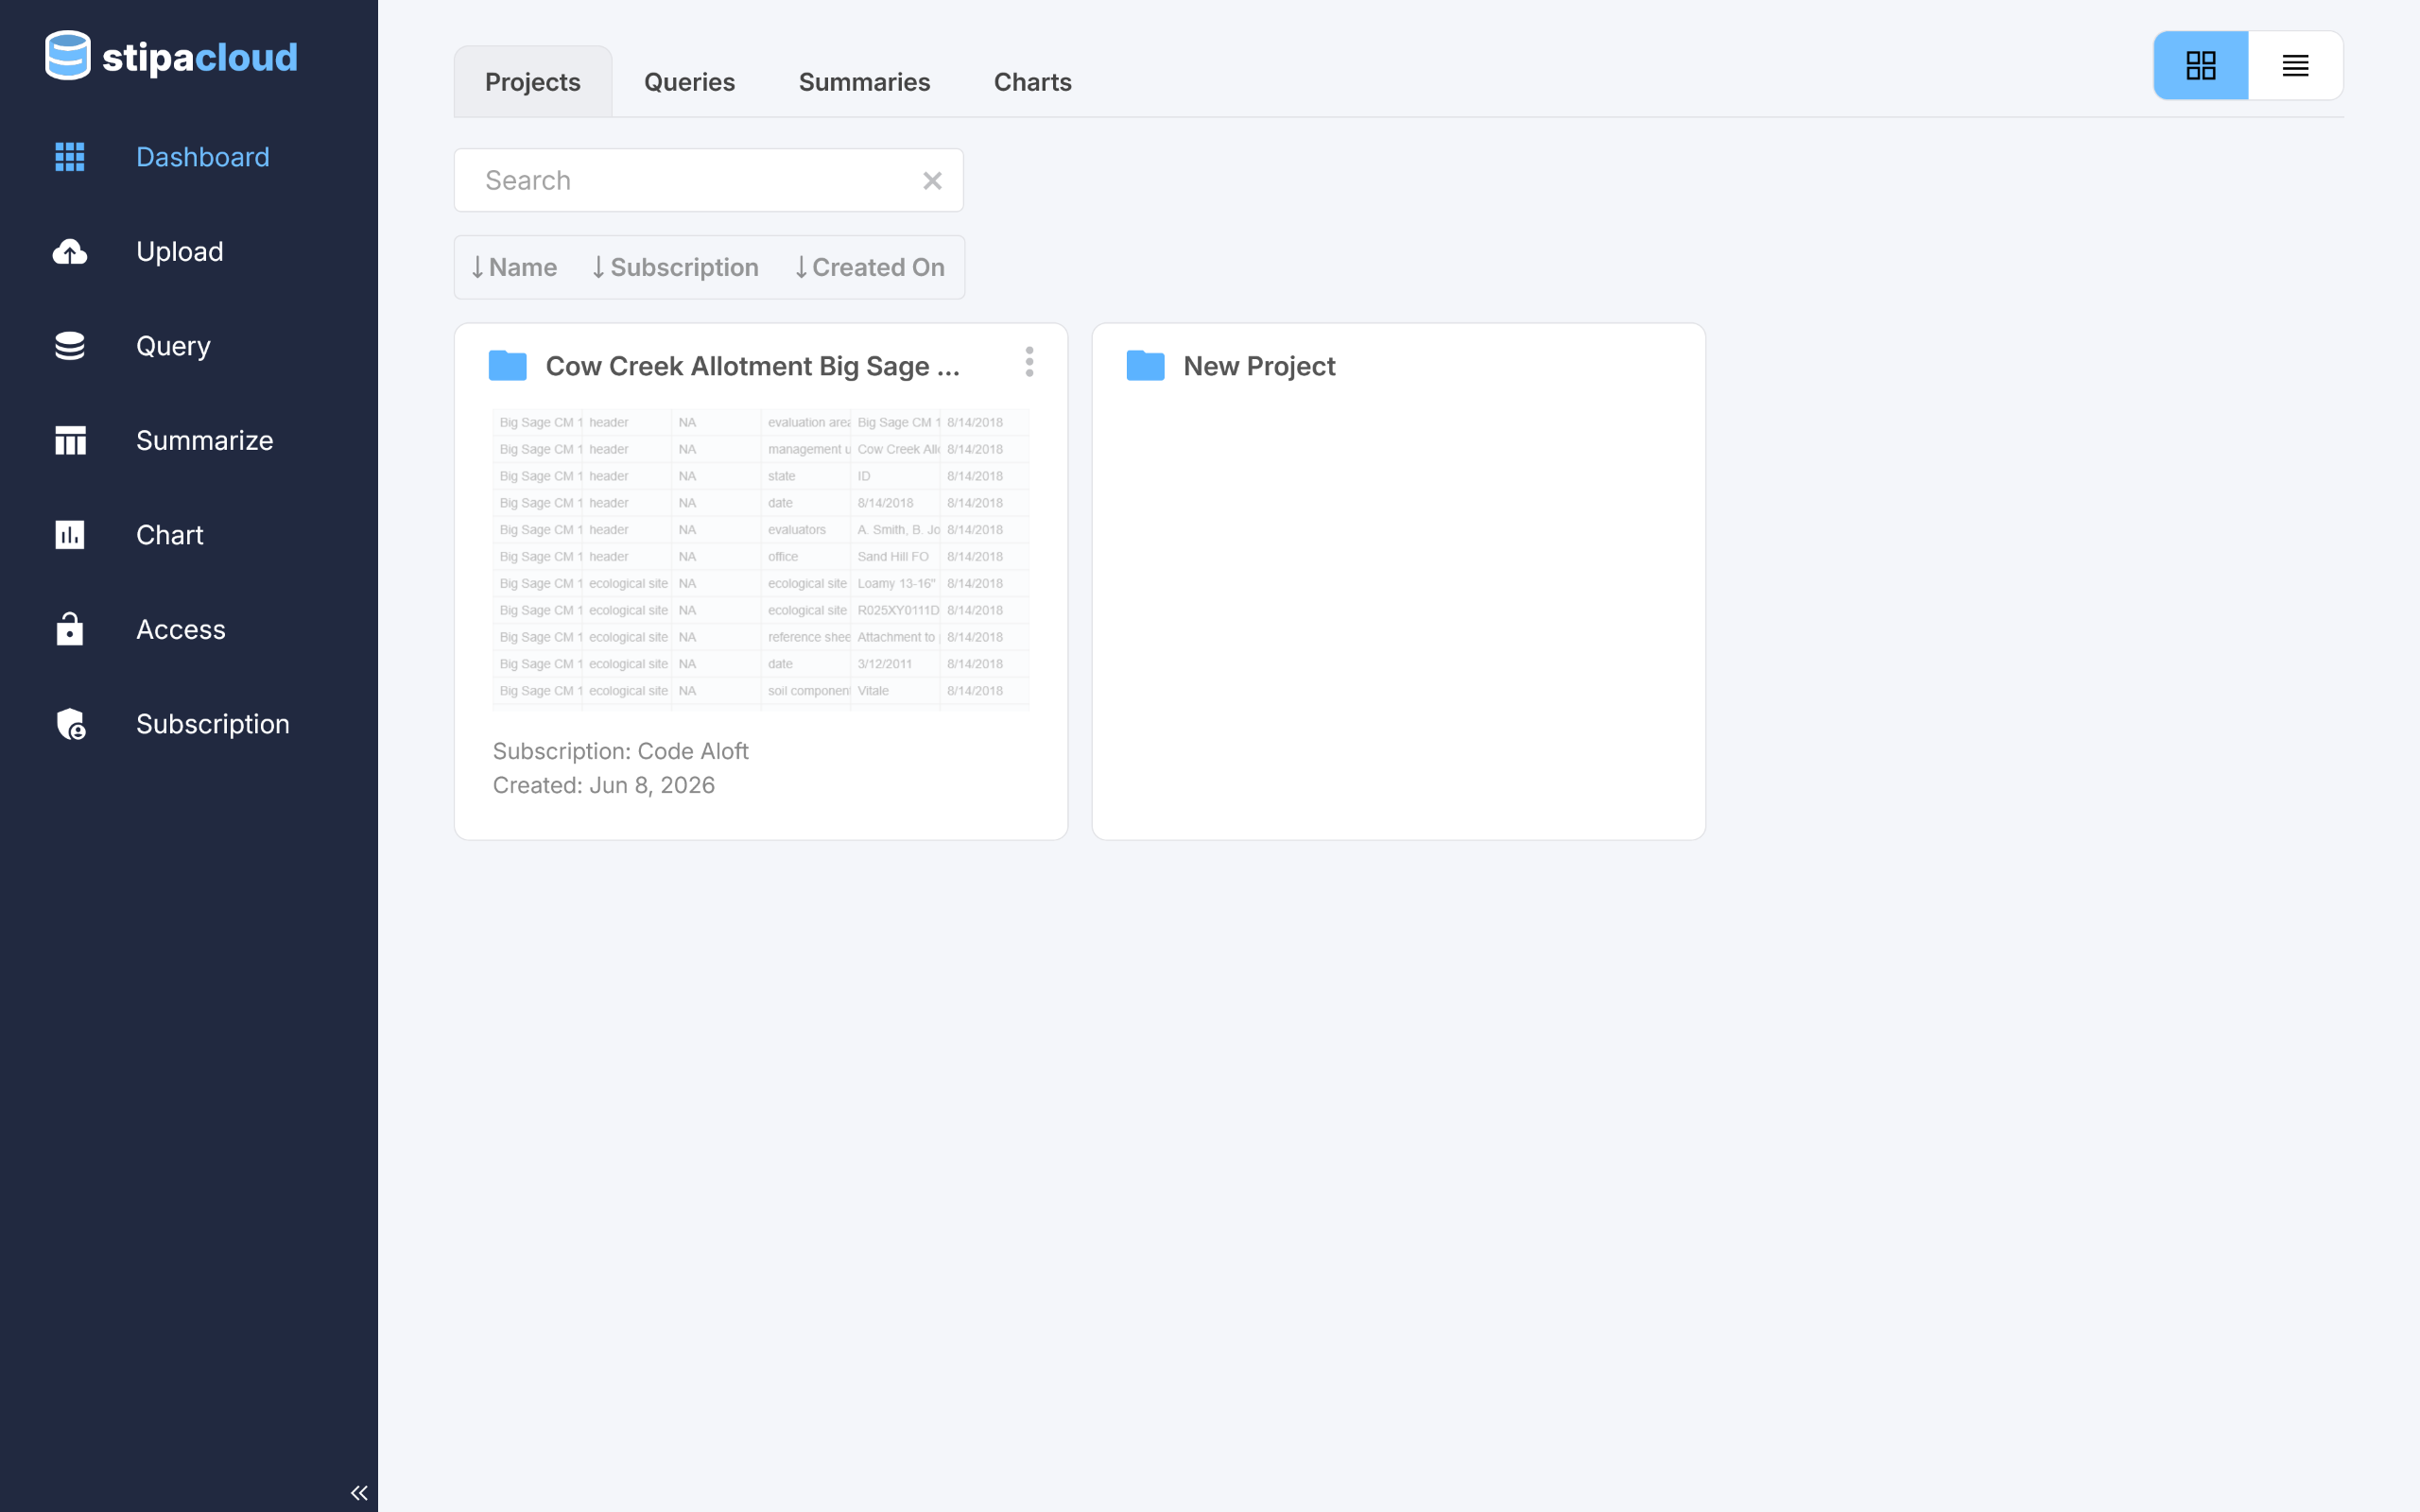
After logging in to the dashboard page, navigate to the Upload view by selecting the appropriate tab from the menu on the left side of the screen.
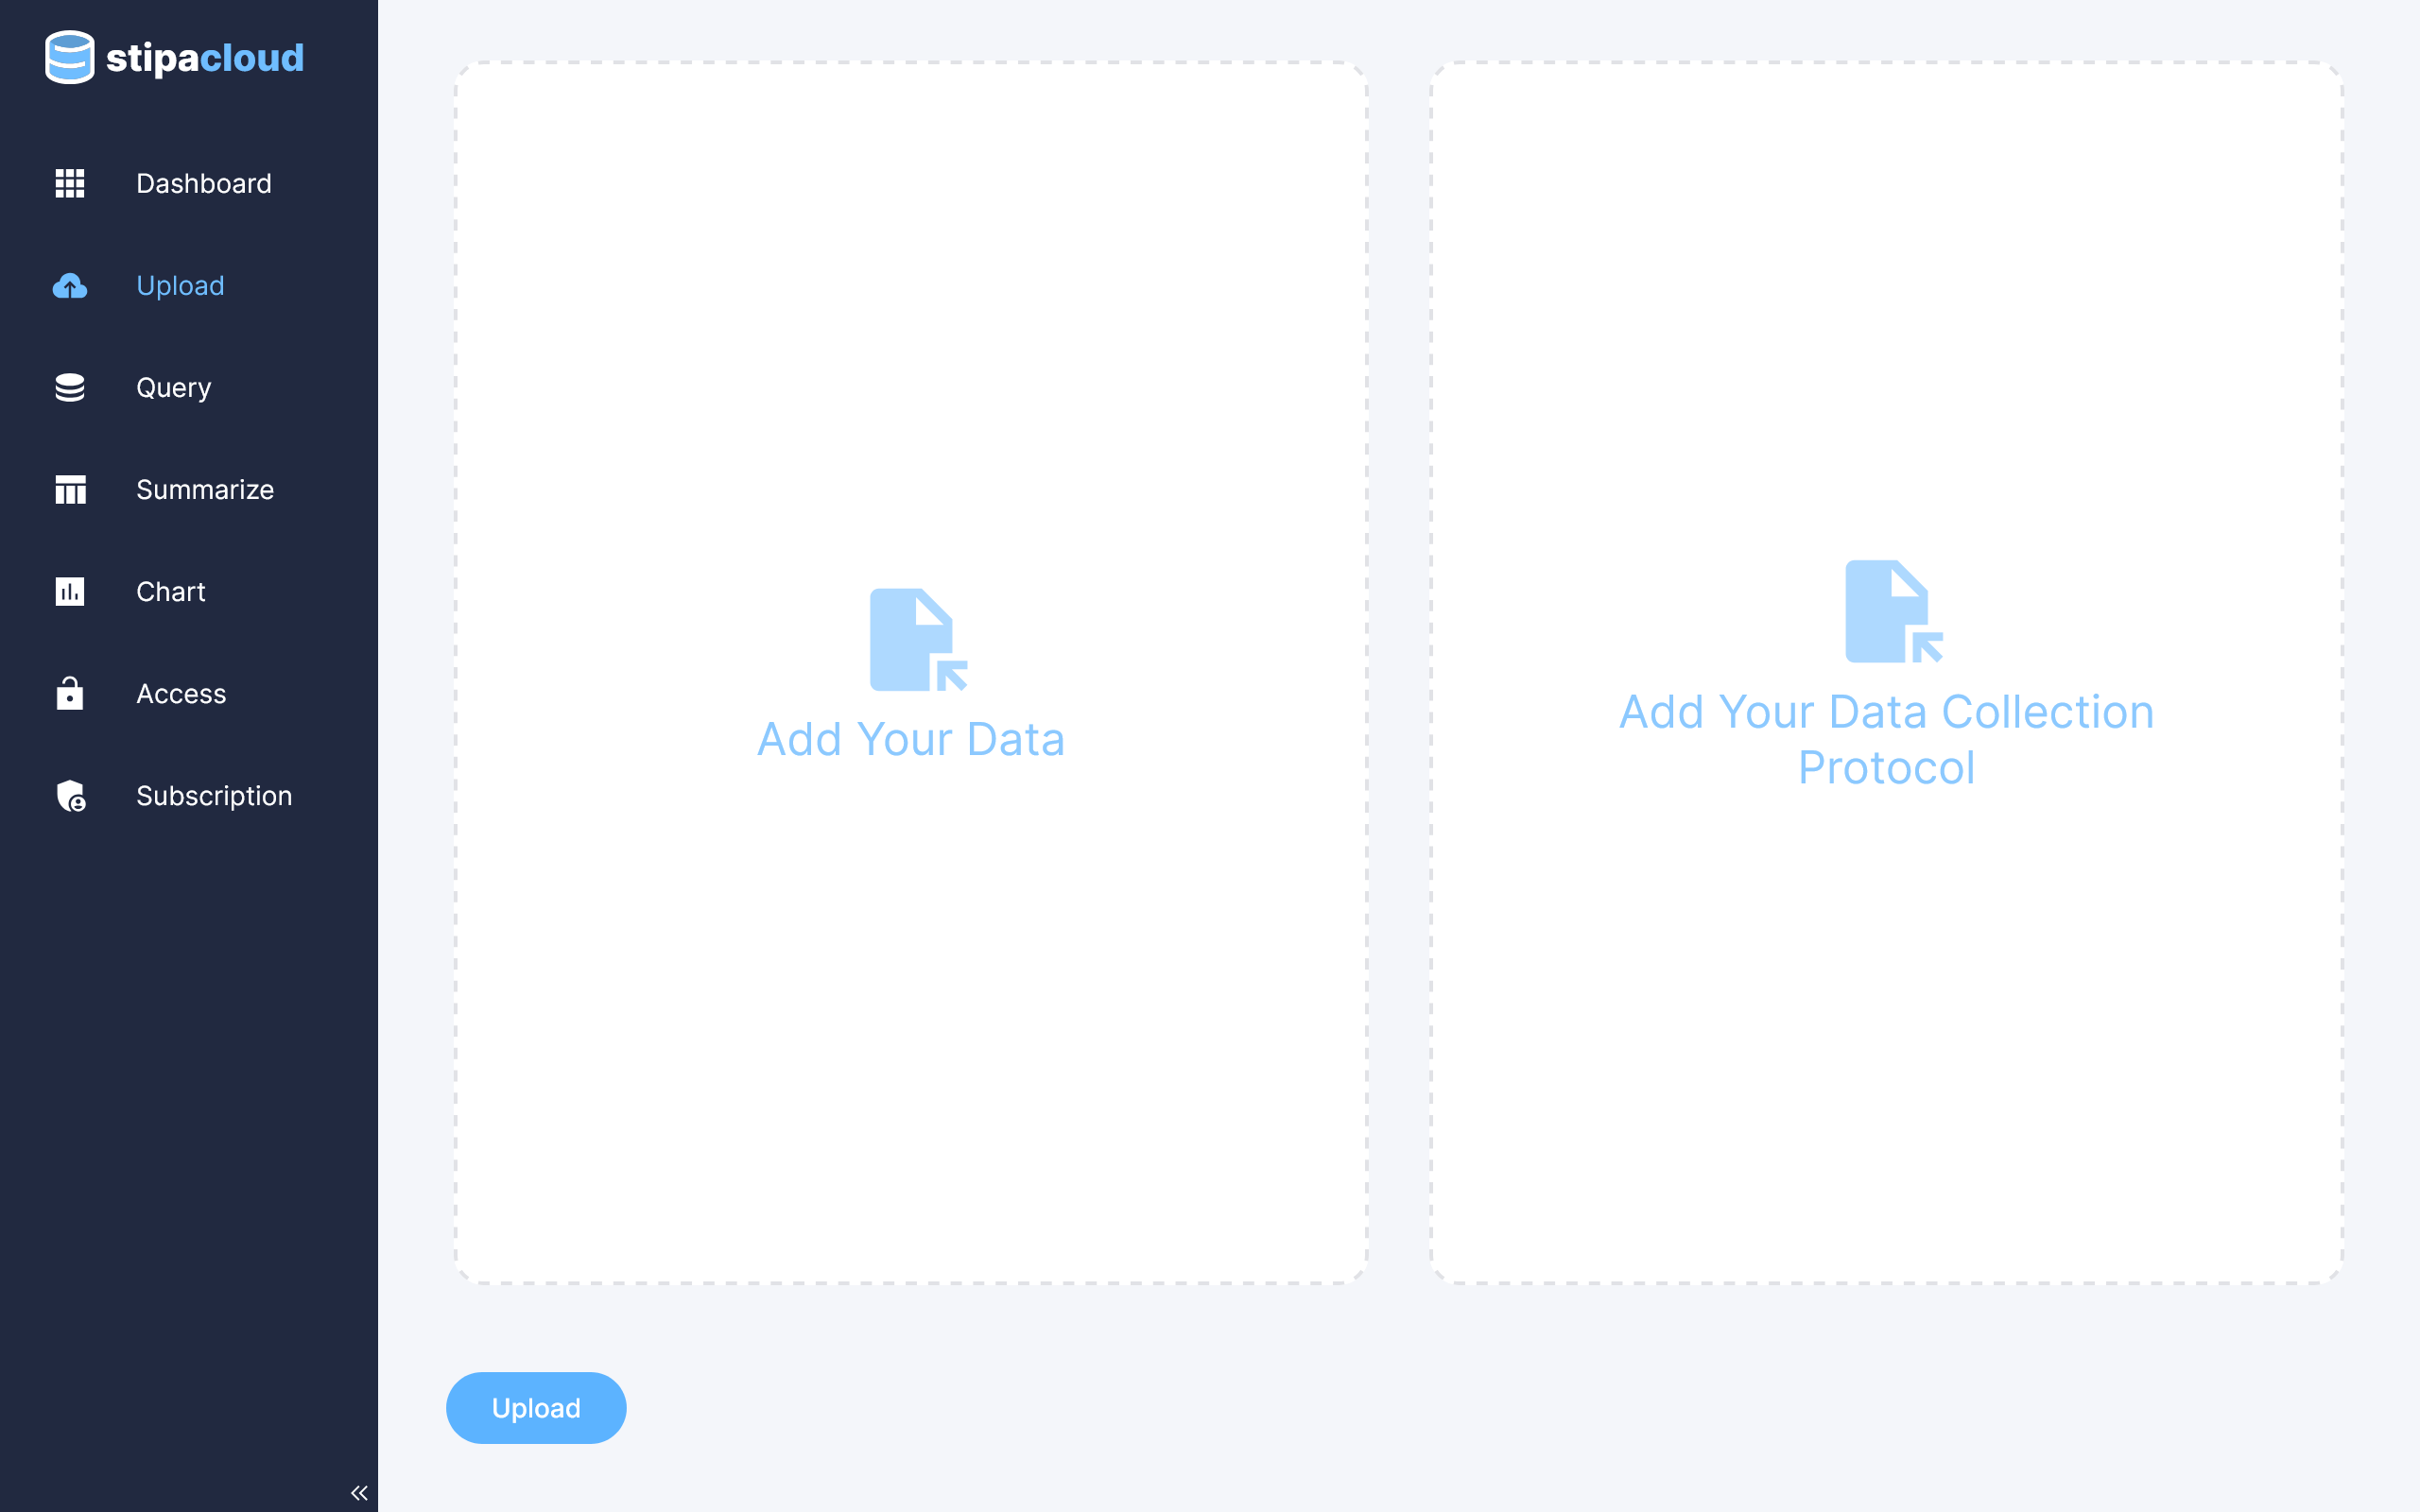
Figure 1. Data upload view.
The first step in the data extraction process is to generate a Stipa Protocol from your forms. To do this, click on the Magic icon in the upper right corner of the appropriate box. A dialog box will open for uploading the files that contain your paper forms. These files can be PDF, JPEG, or PNG. Select the ID type and style you would like to use to identify individual Stipa Protocol elements. Then click extract.
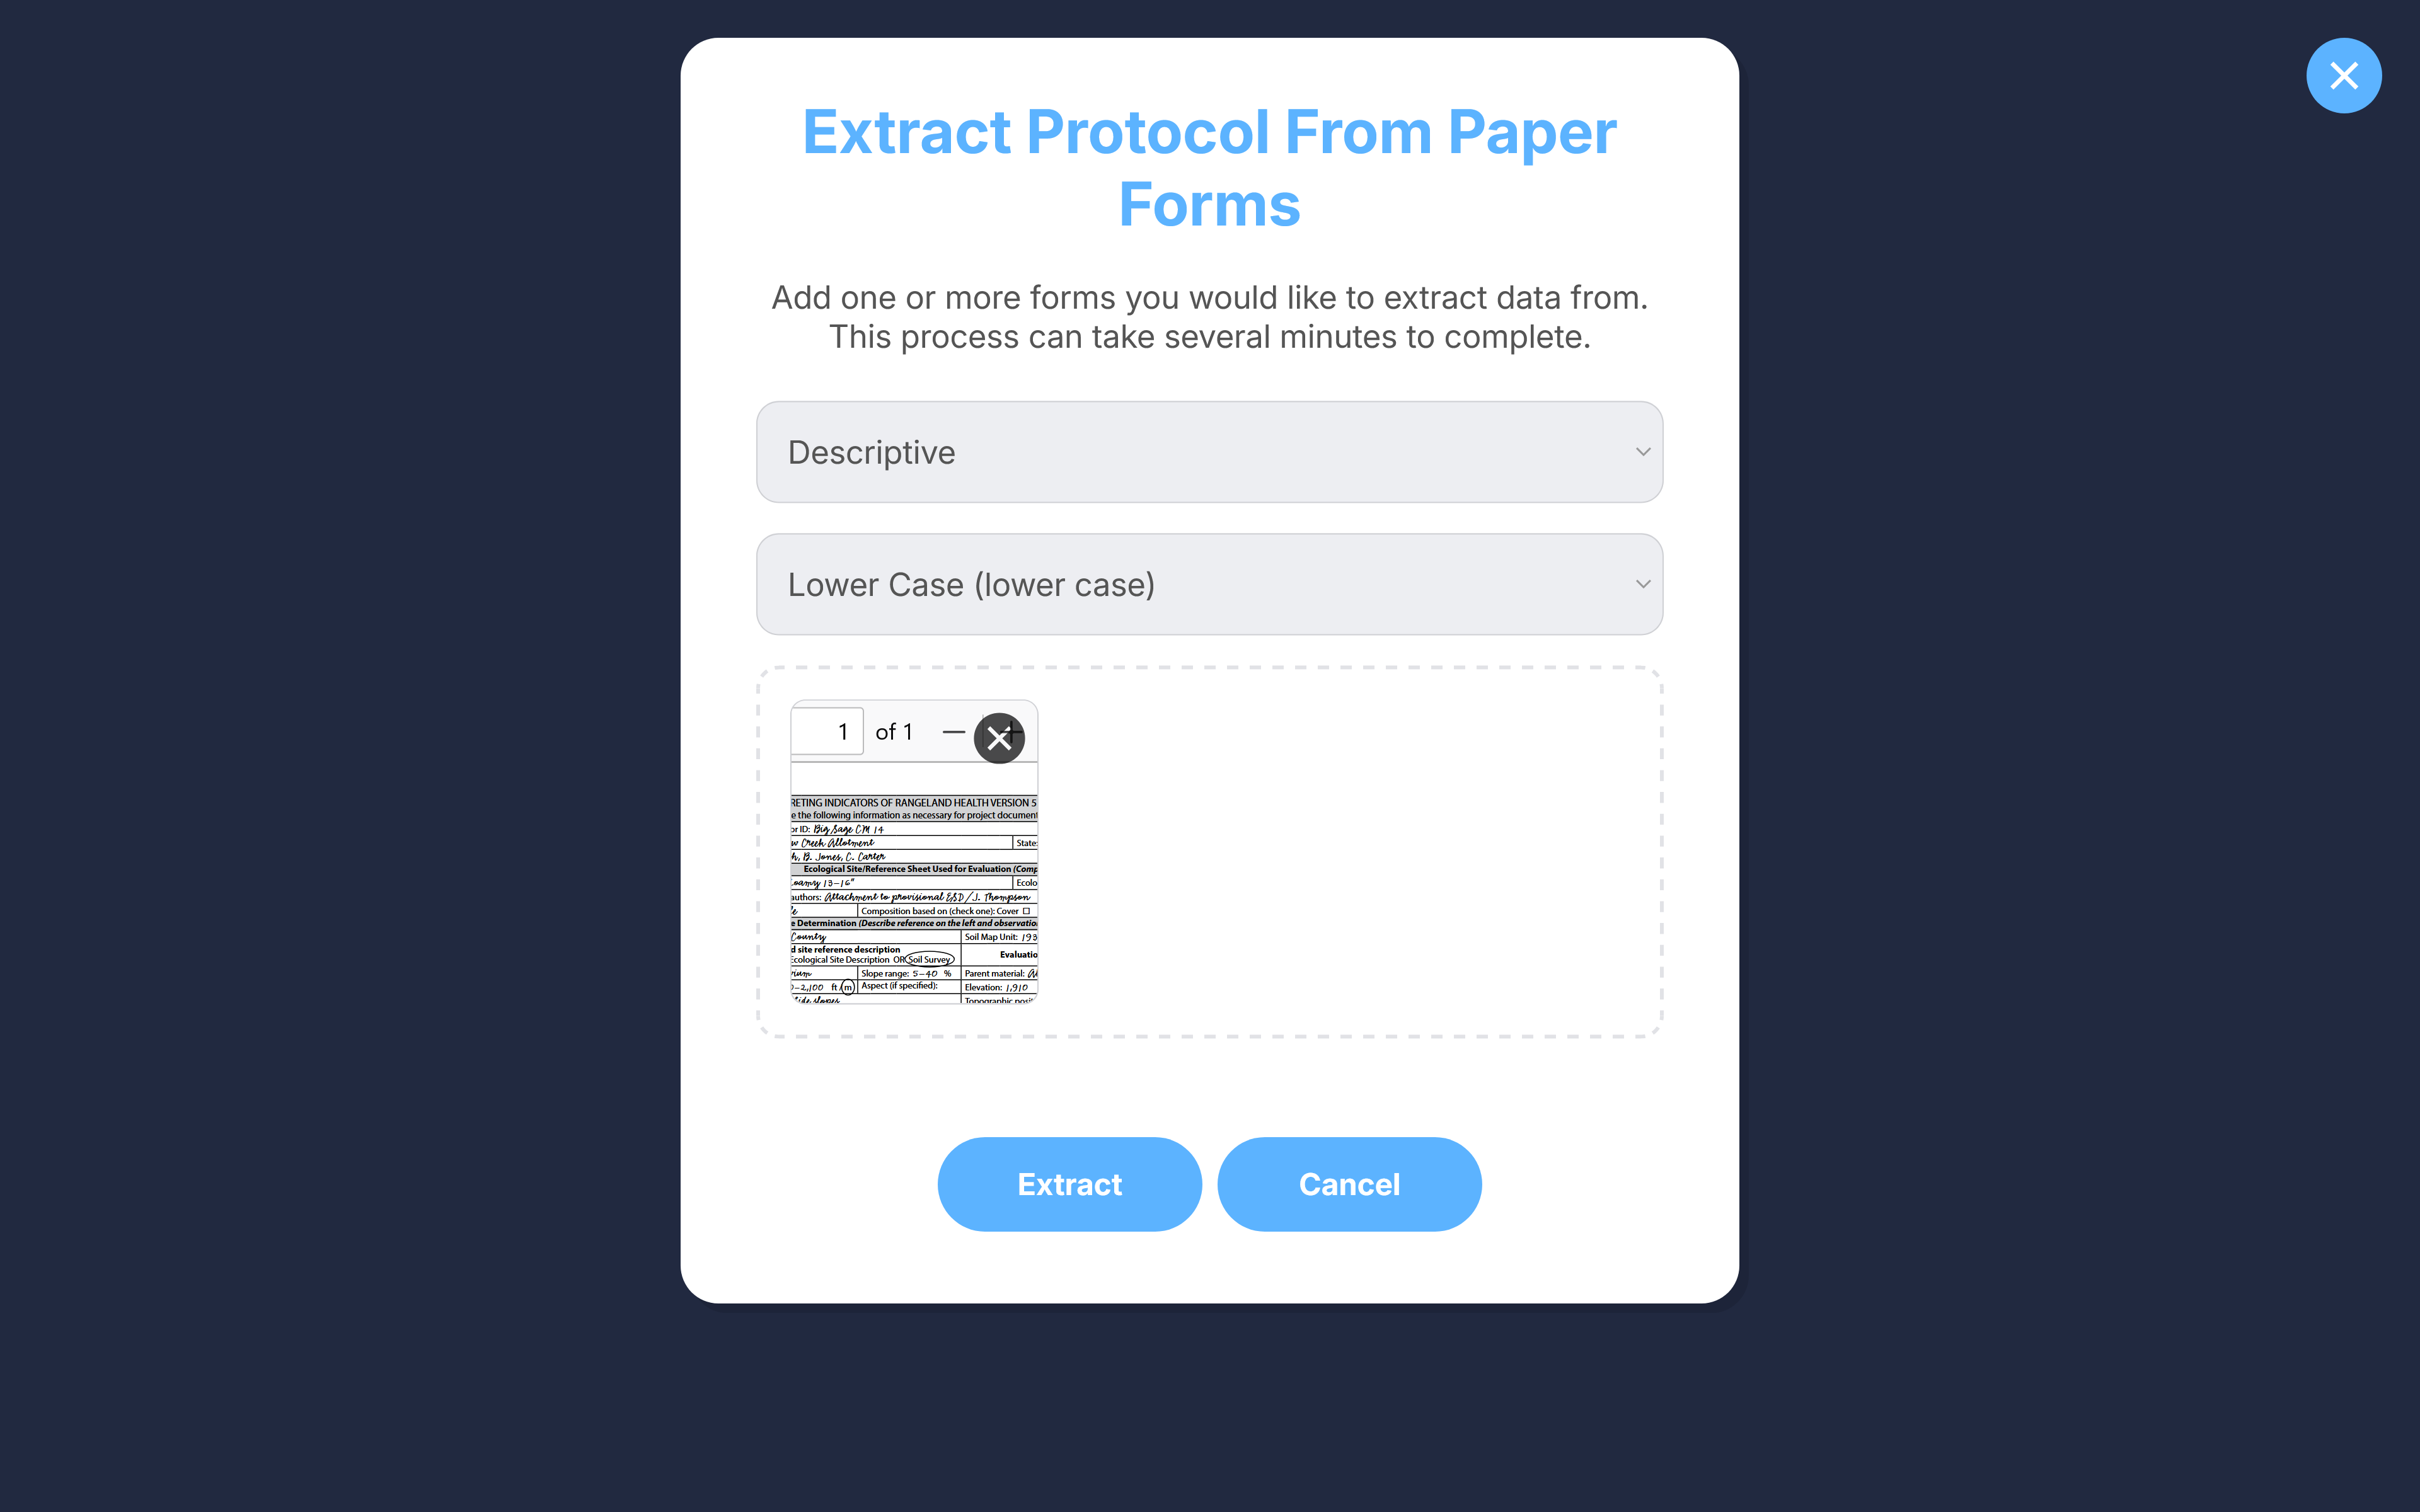
Figure 2. Stipa Protocol extraction dialog.
Generating the Stipa Protocol can take several minutes. Once extracted, the XML file will be displayed in the Stipa Protocol upload box and automatically downloaded to your computer. This gives you the opportunity to review, edit, and re-use the document at a later date, if desired.
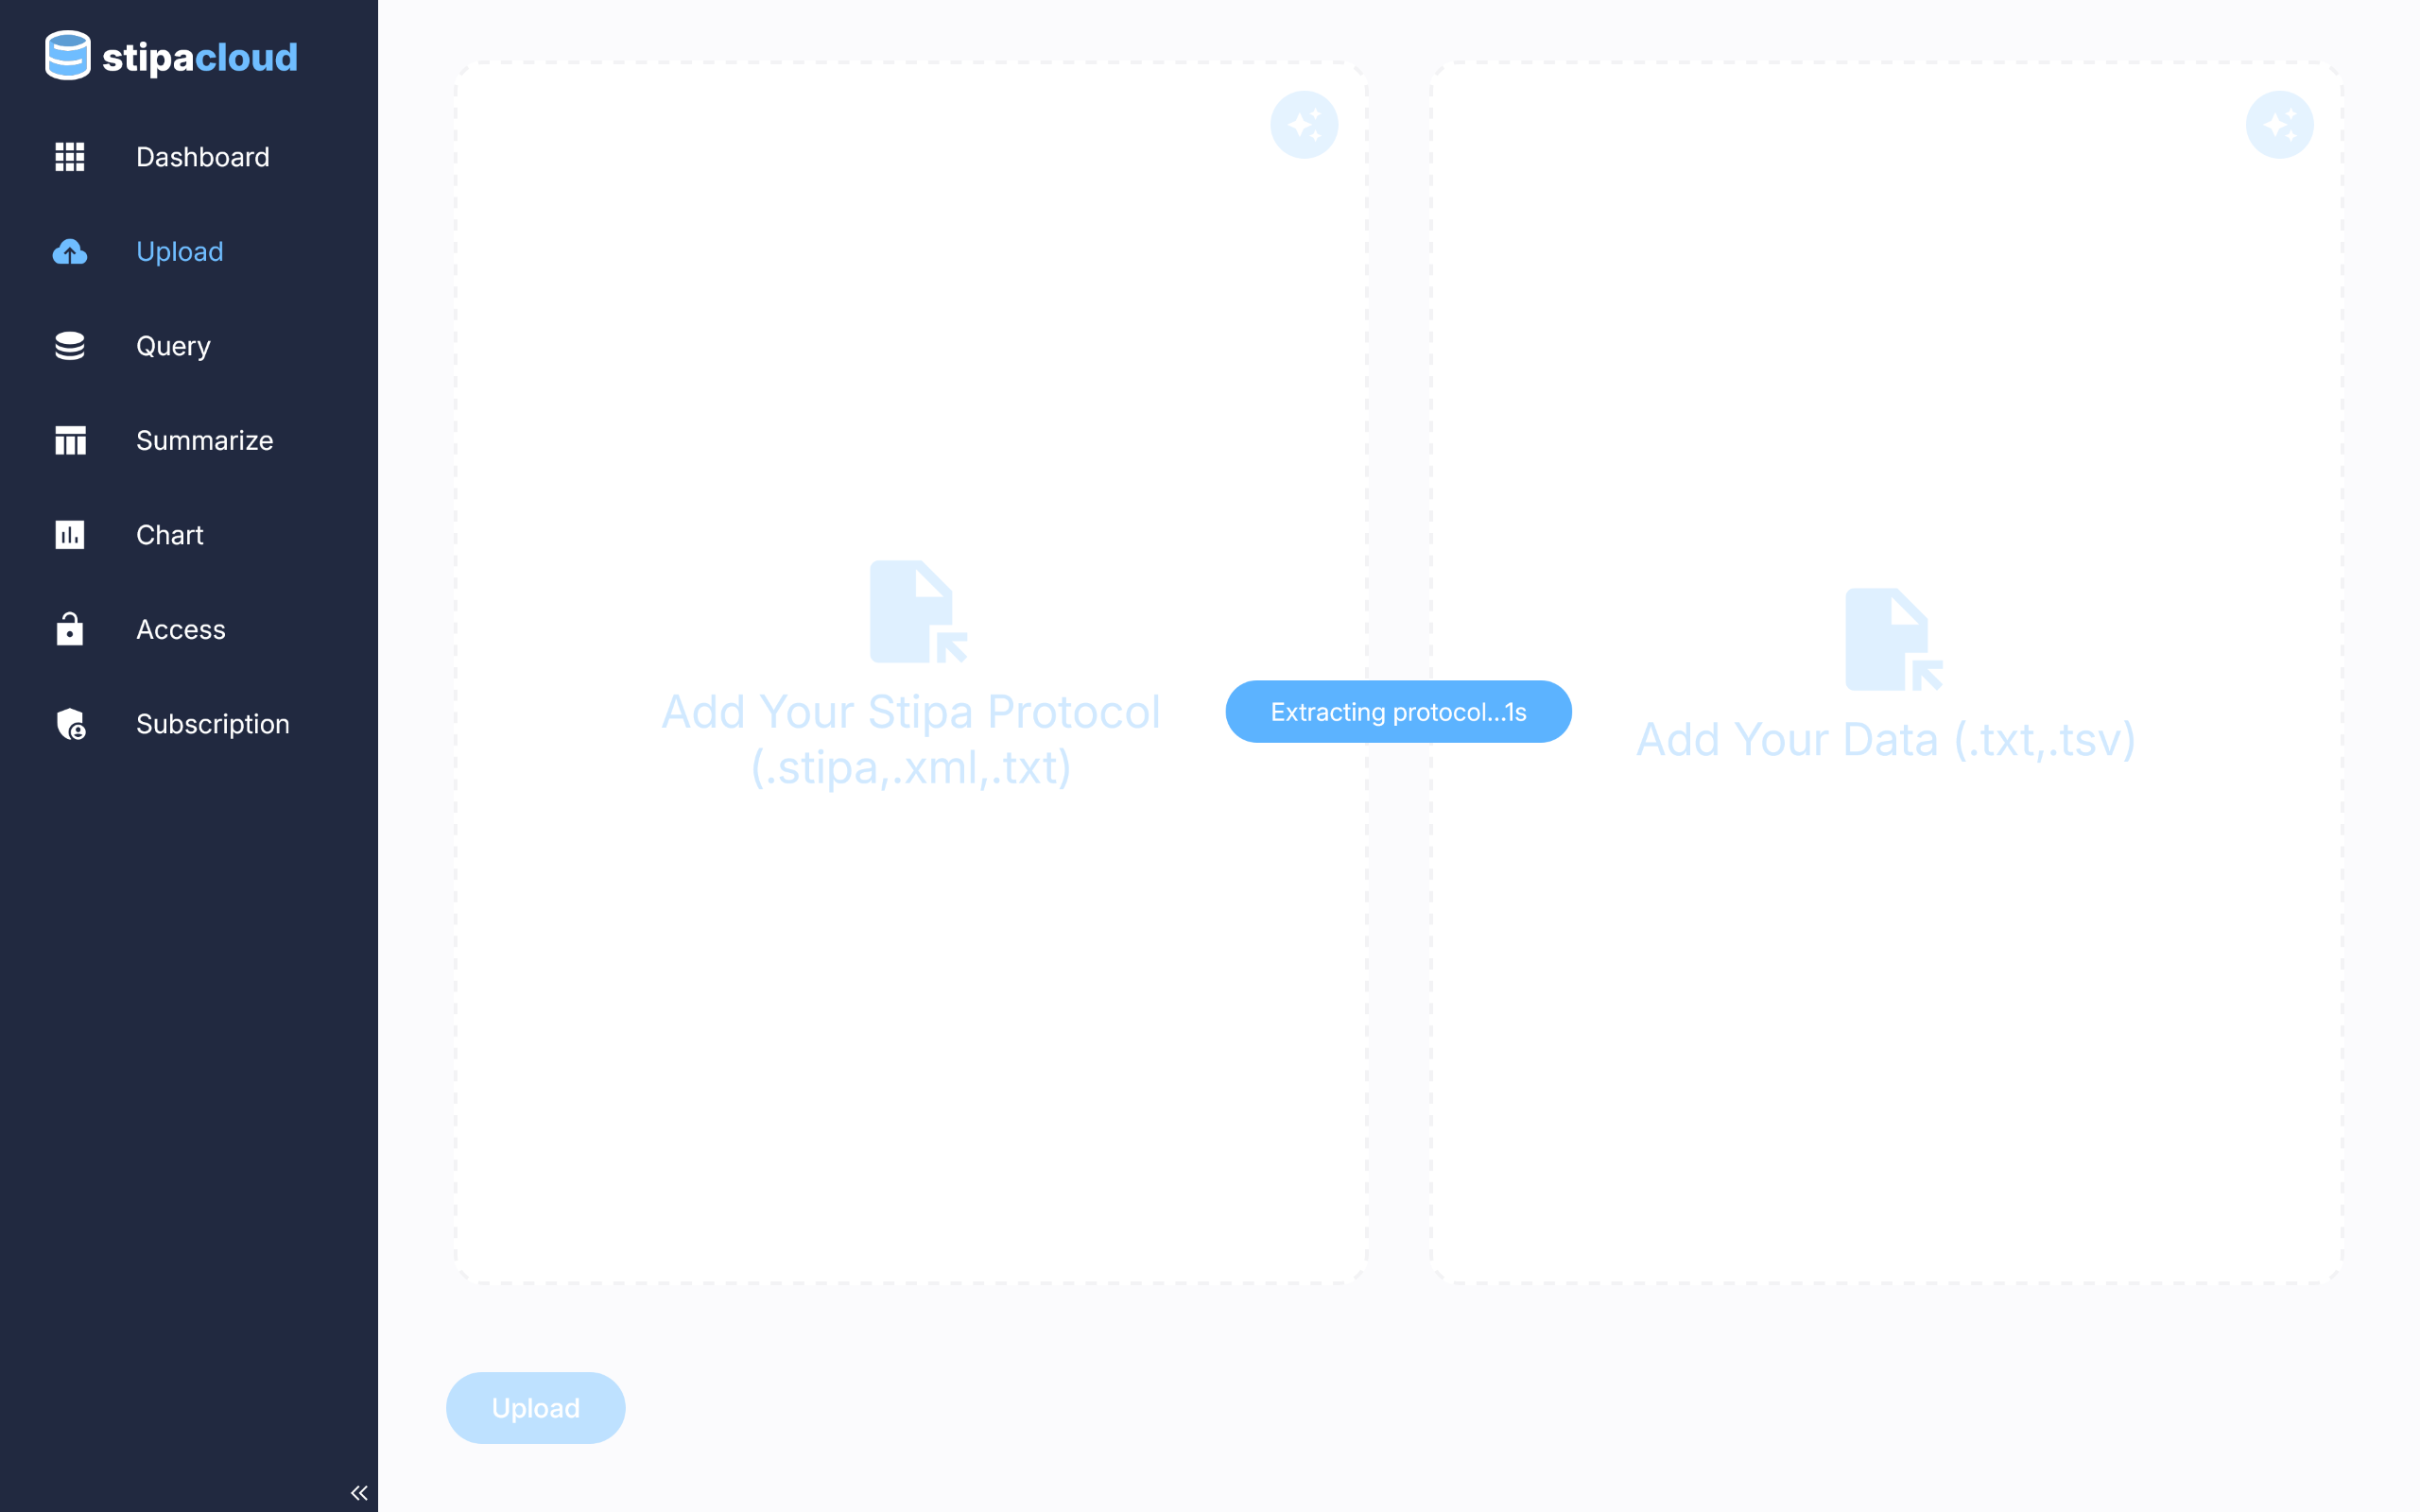
Figure 3. Extracting a Stipa Protocol from paper forms.
We recommend that you review the generated Stipa Protocol (and modify as needed) to ensure that it is reasonably faithful to the logic of the original paper form. The XML file can be opened using various software, including text editors, web browsers, and software dedicated to building Stipa Protocols.
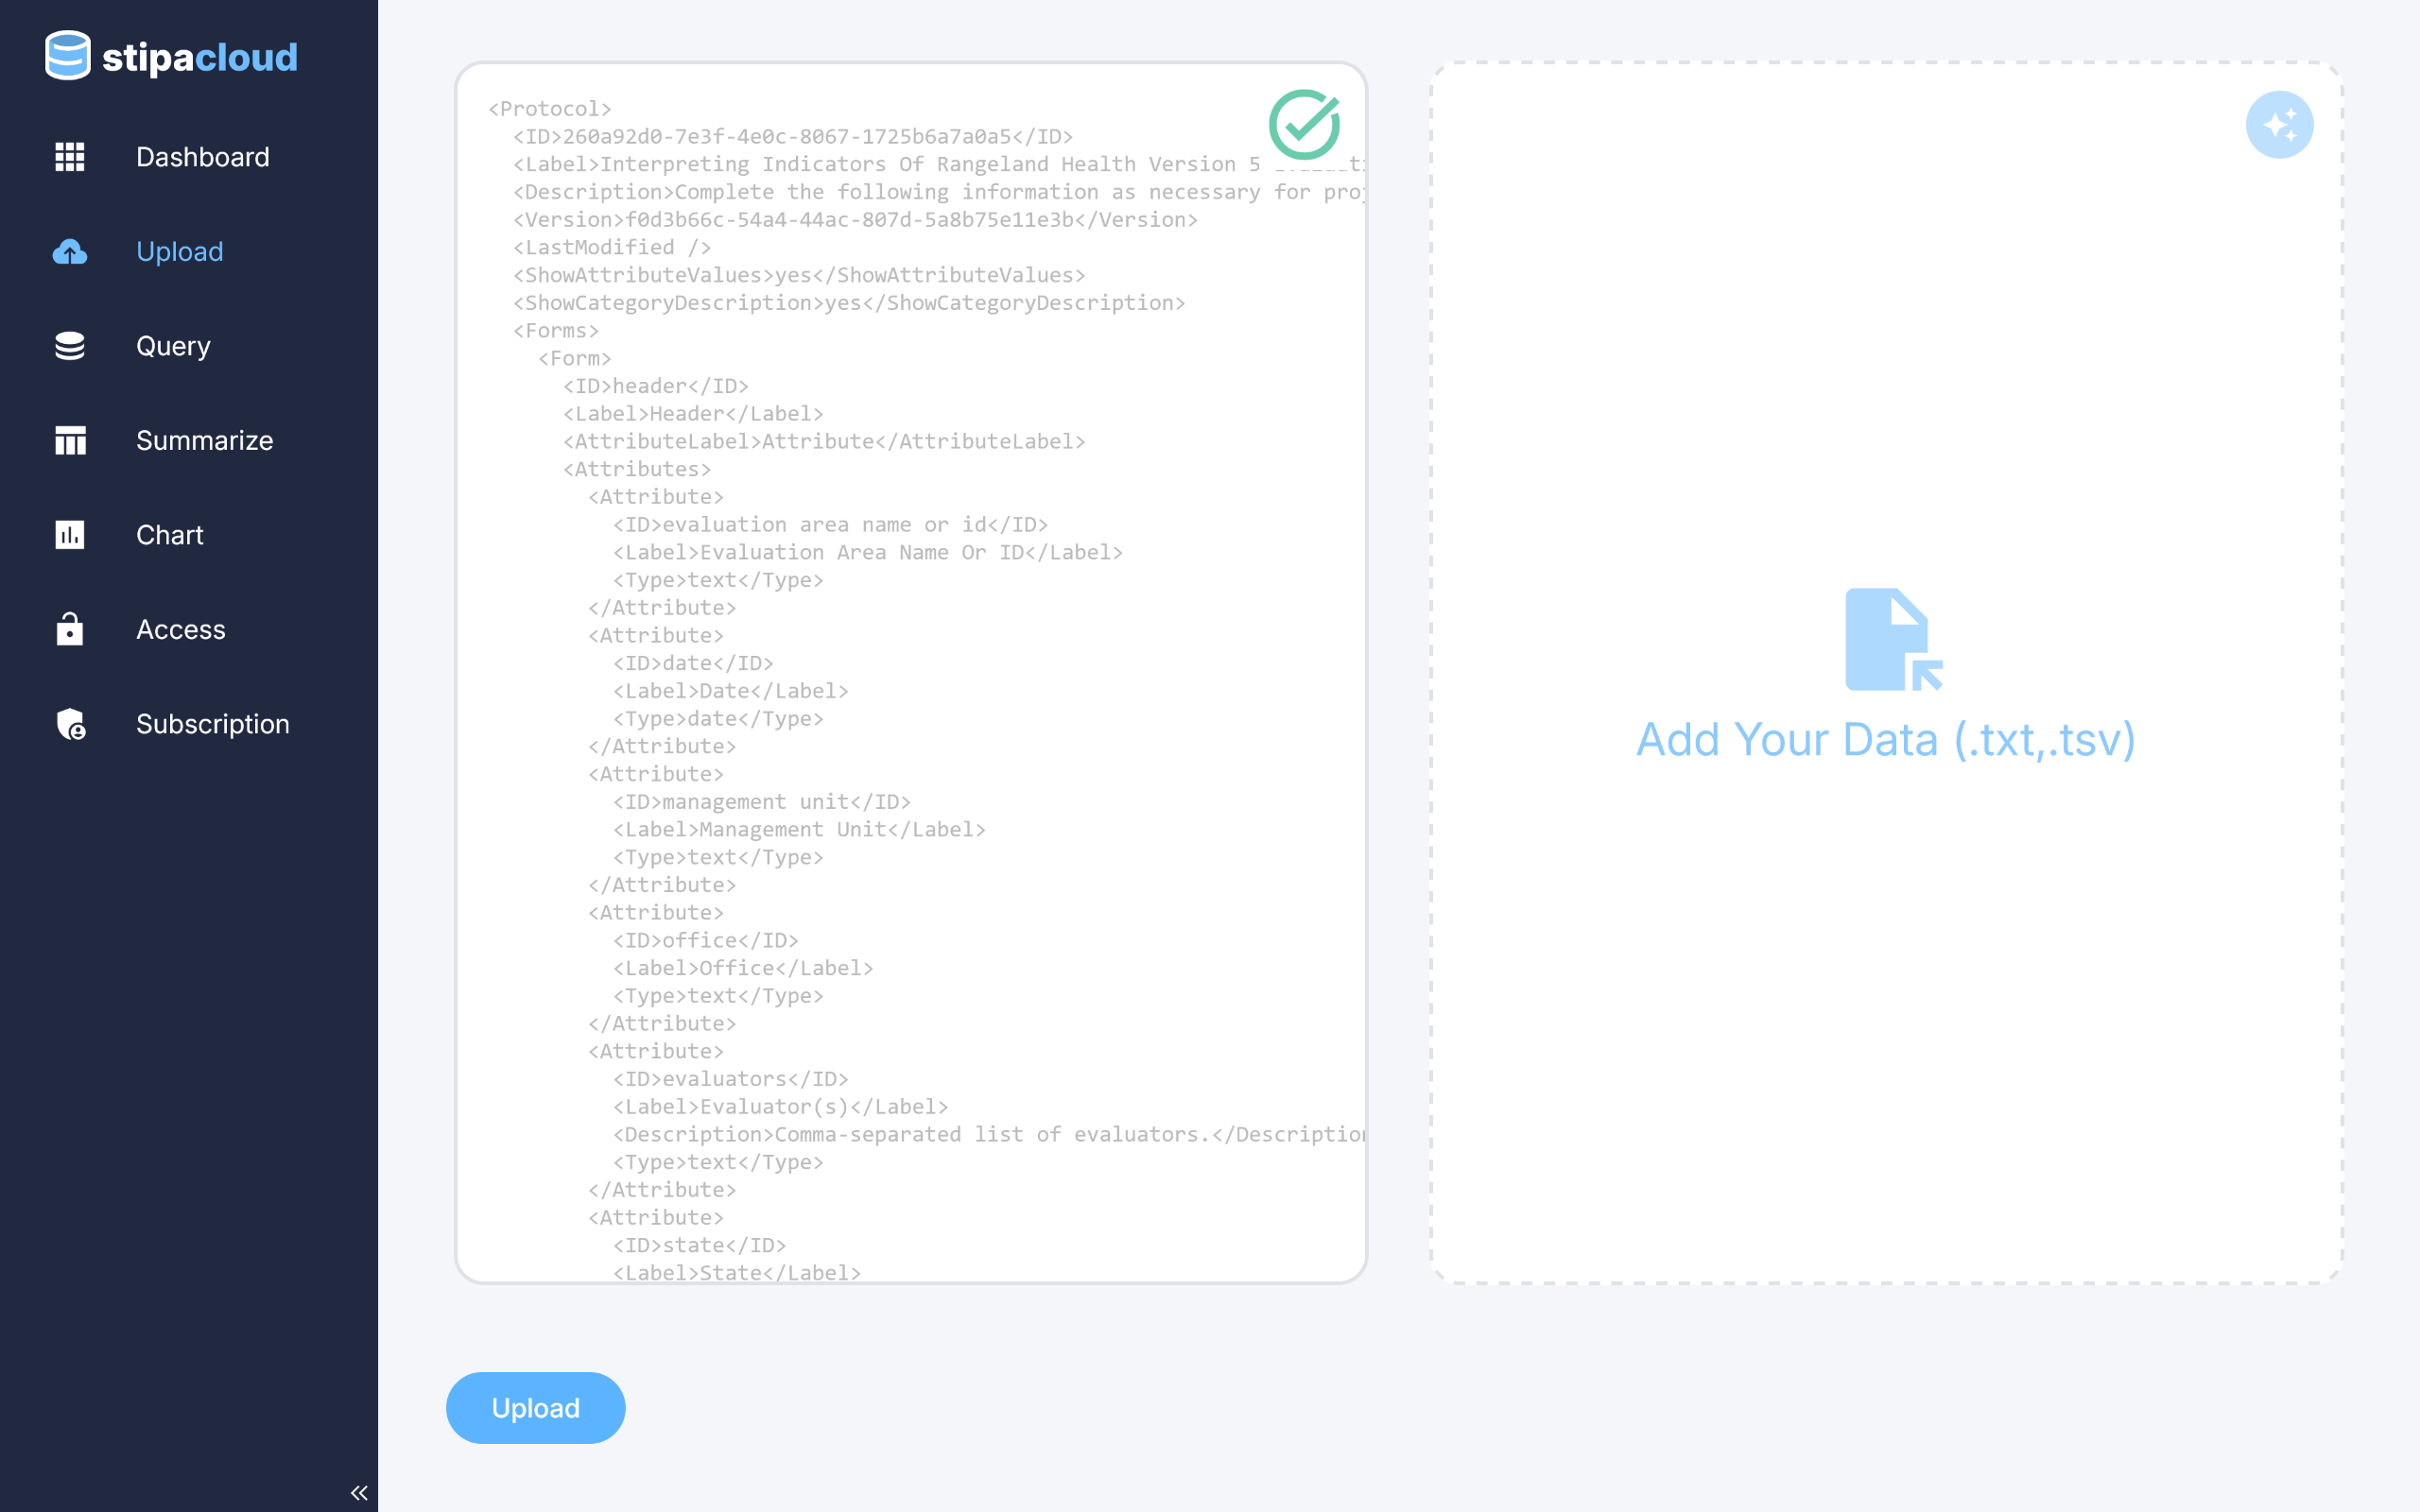
Figure 4. Viewing the extracted Stipa Protocol document.
The second step in the data extraction process is to load data from paper forms using the generated Stipa Protocol. To do this, click on the Magic icon in the upper right corner of the appropriate box. A dialog box will open for uploading the files that contain your paper forms. These files can be PDF, JPEG, or PNG. Click Extract to launch the data extraction process.
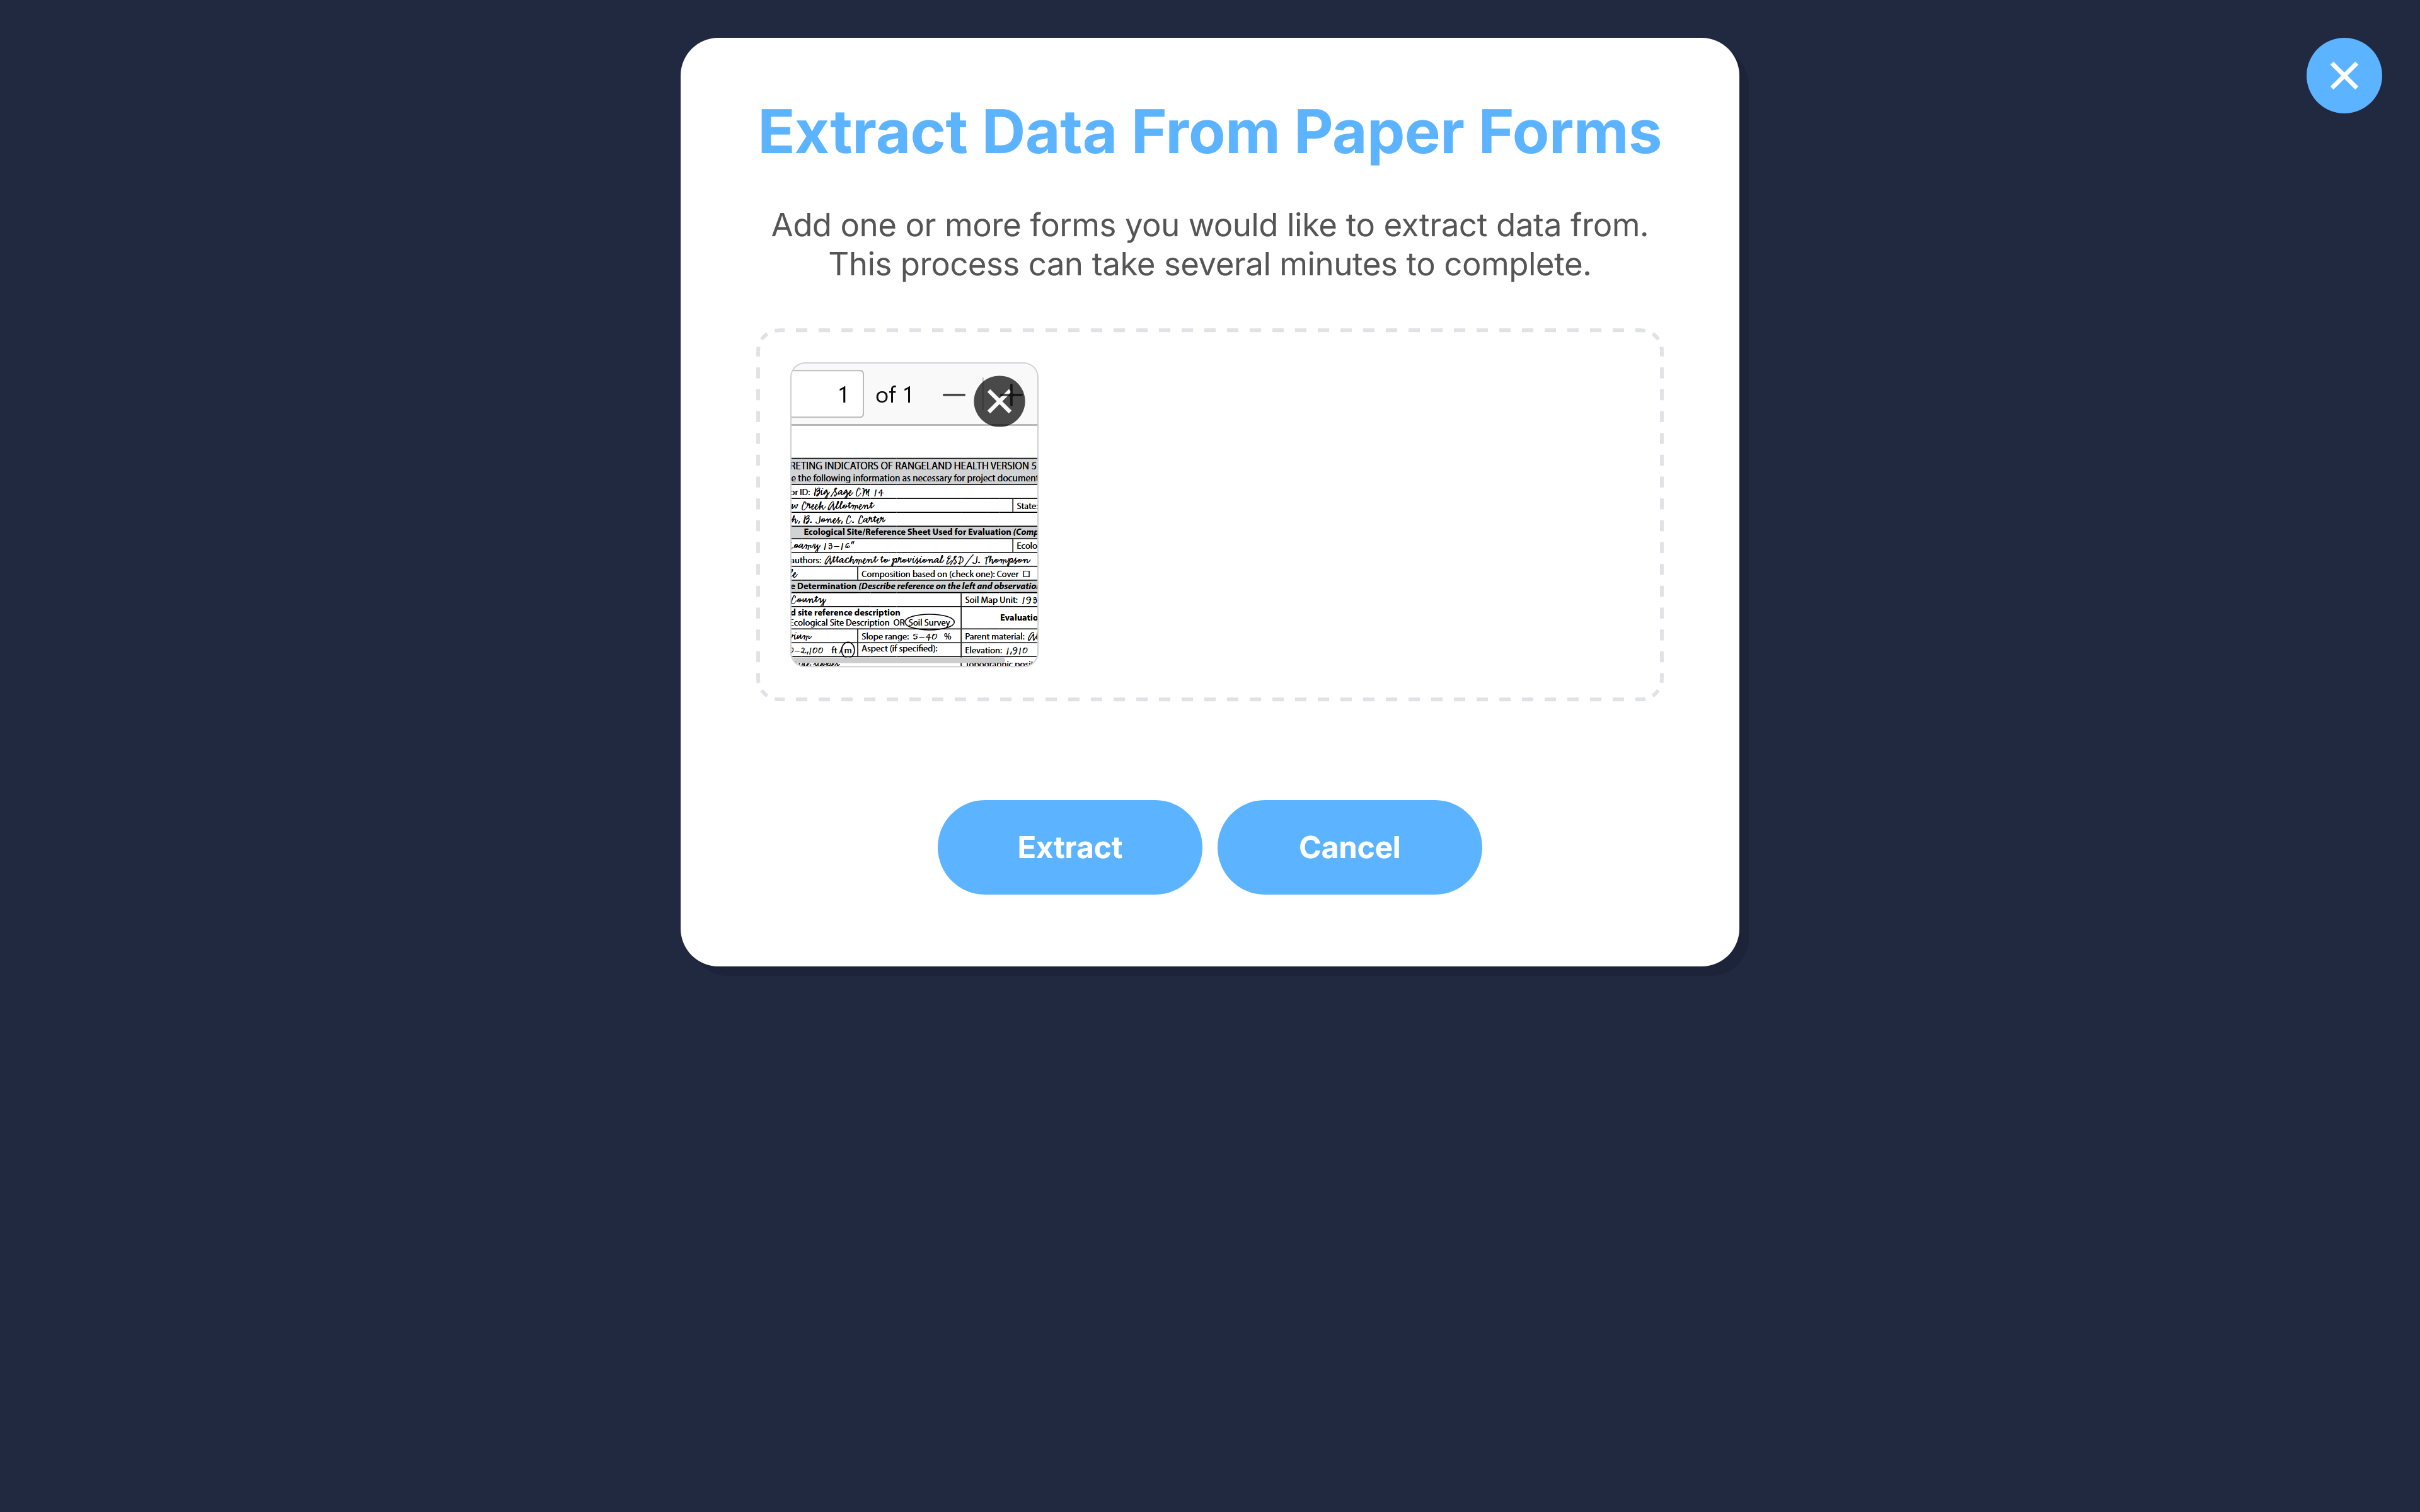
Figure 5. Data extraction dialog.
Extracting data from paper forms can take several minutes. Once the process is complete, the data will be displayed in the data upload box and automatically downloaded to your computer as a tab-delimited text file. This gives you the opportunity to review and edit the data at a later date, if desired. The text file can be opened and modified using a text editor or other software.
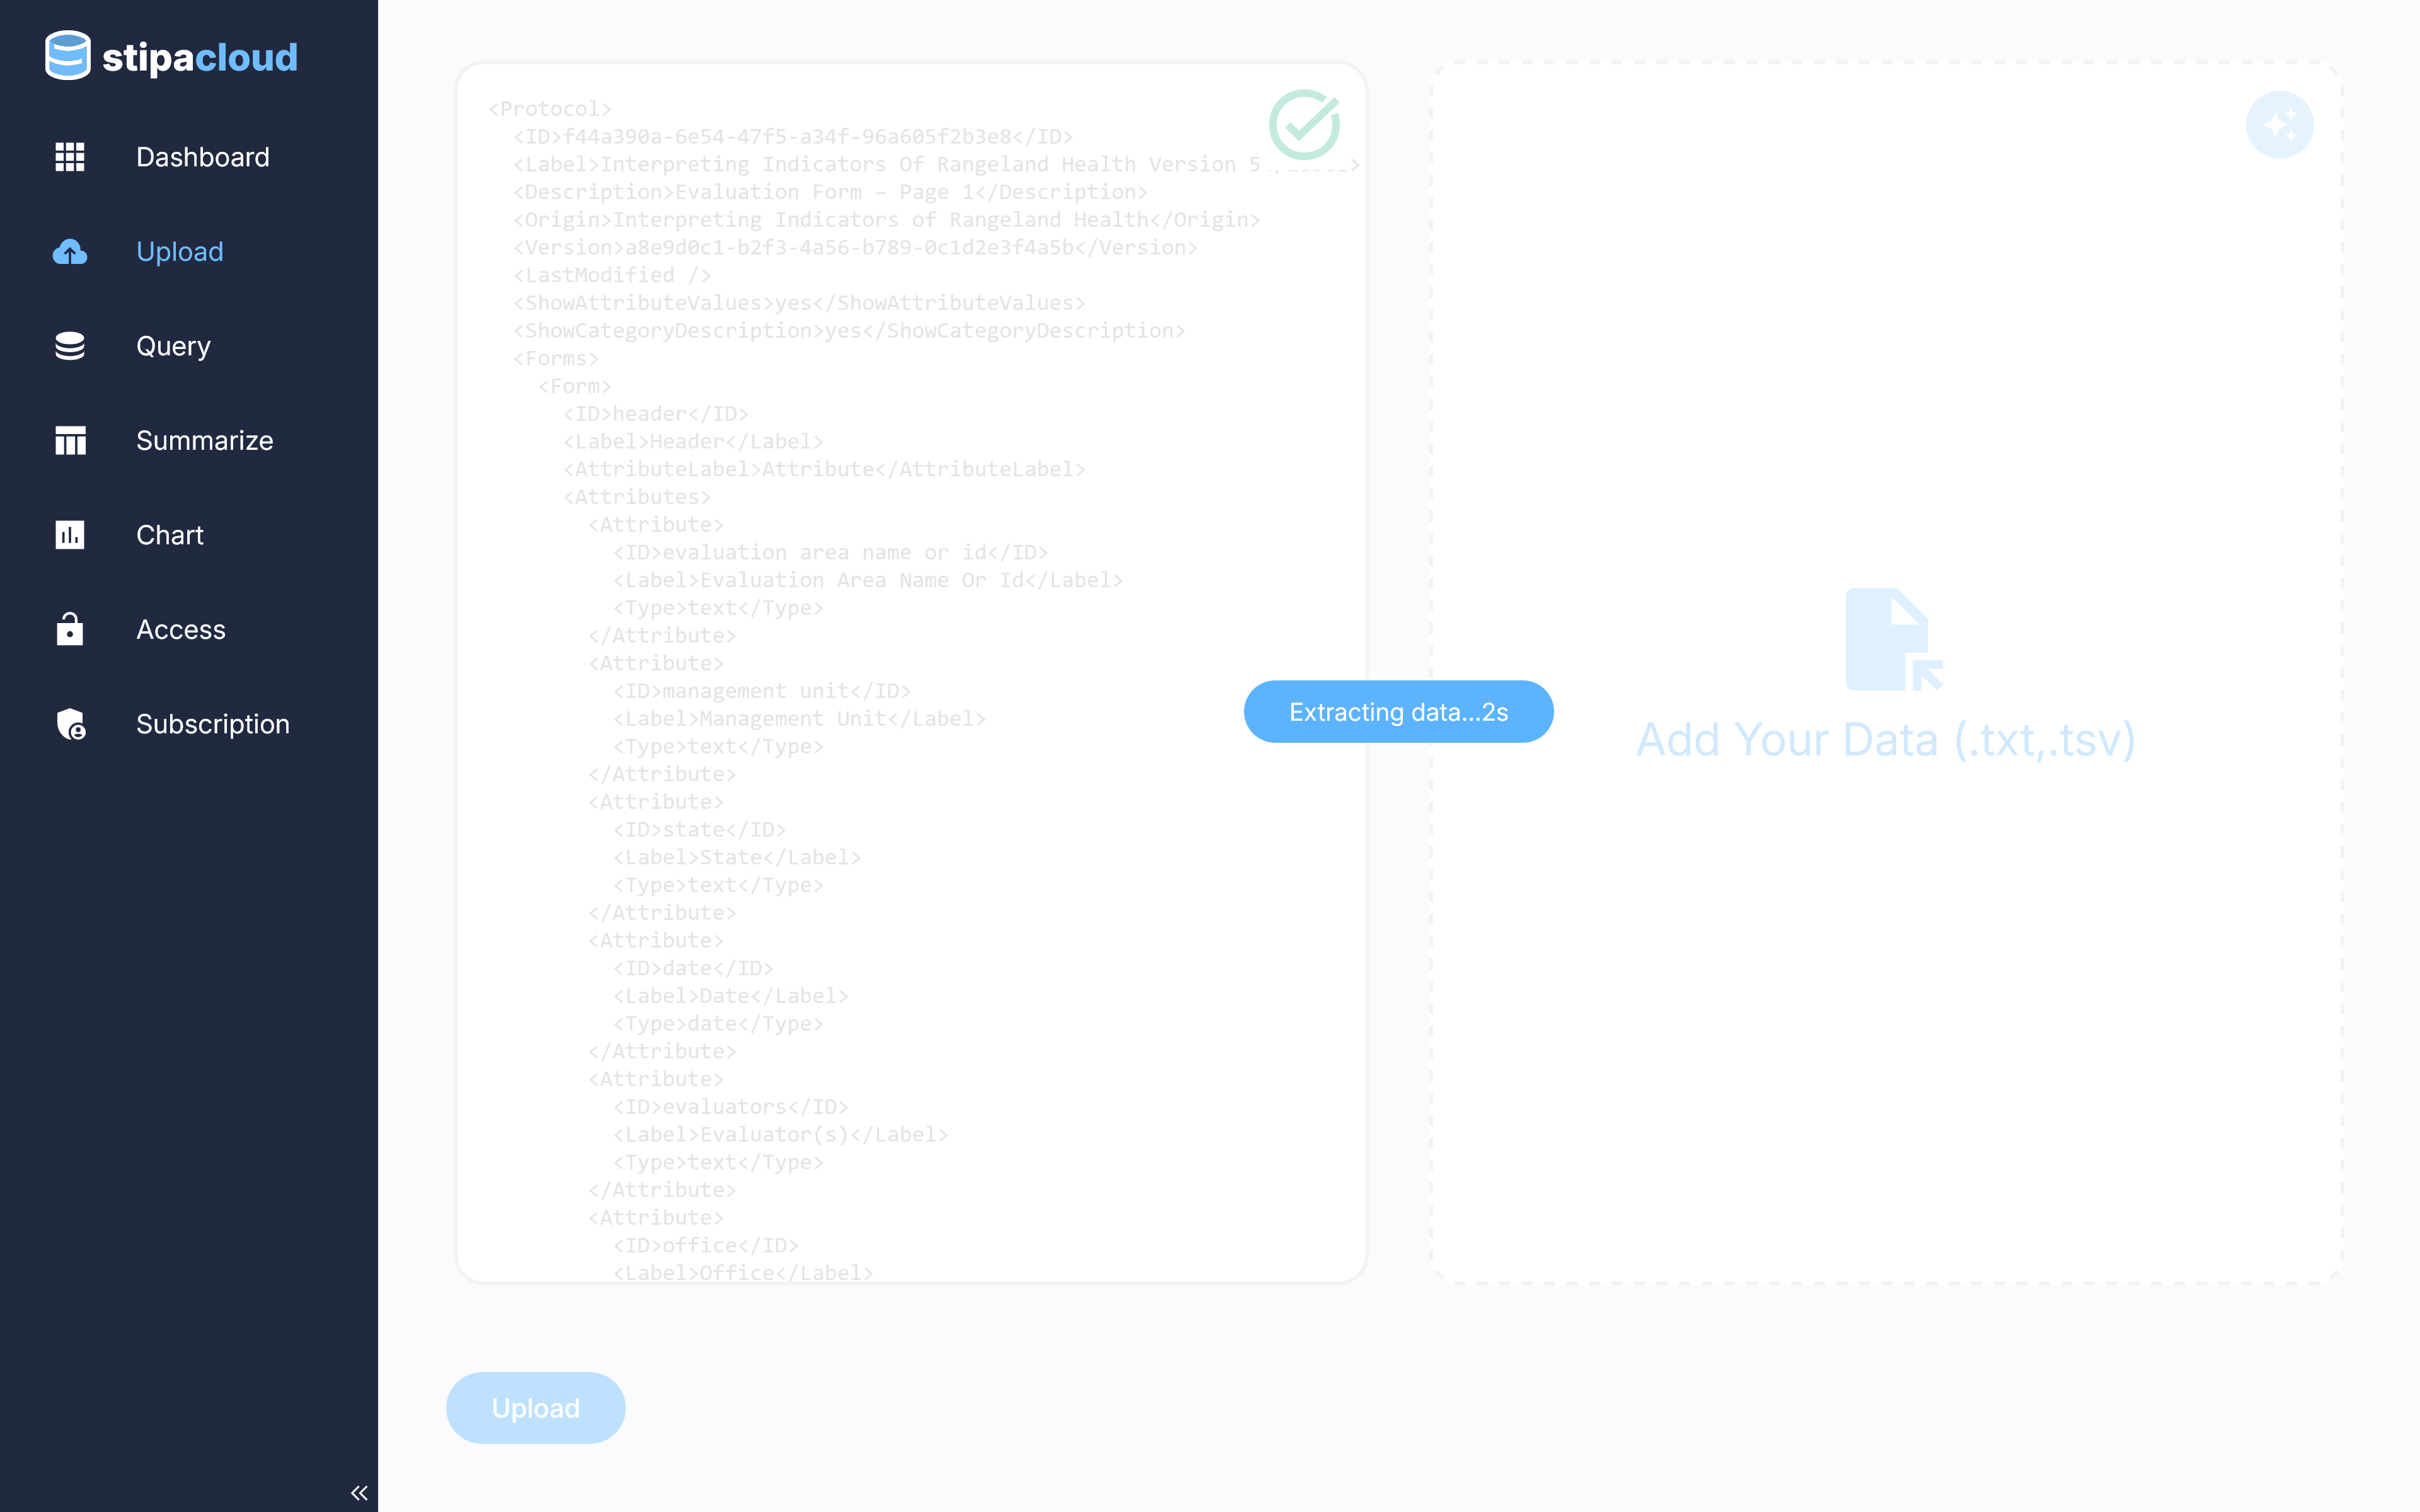
Figure 6. Extracting data from paper forms.
The extracted data are automatically validated against the provided Stipa Protocol. Any discrepencies will be listed in the dialog box shown at the completion of the extraction process. Some manual editing of the data file or Stipa Protocol document may be required to reconcile such errors and successfully upload the data to Stipa Cloud.
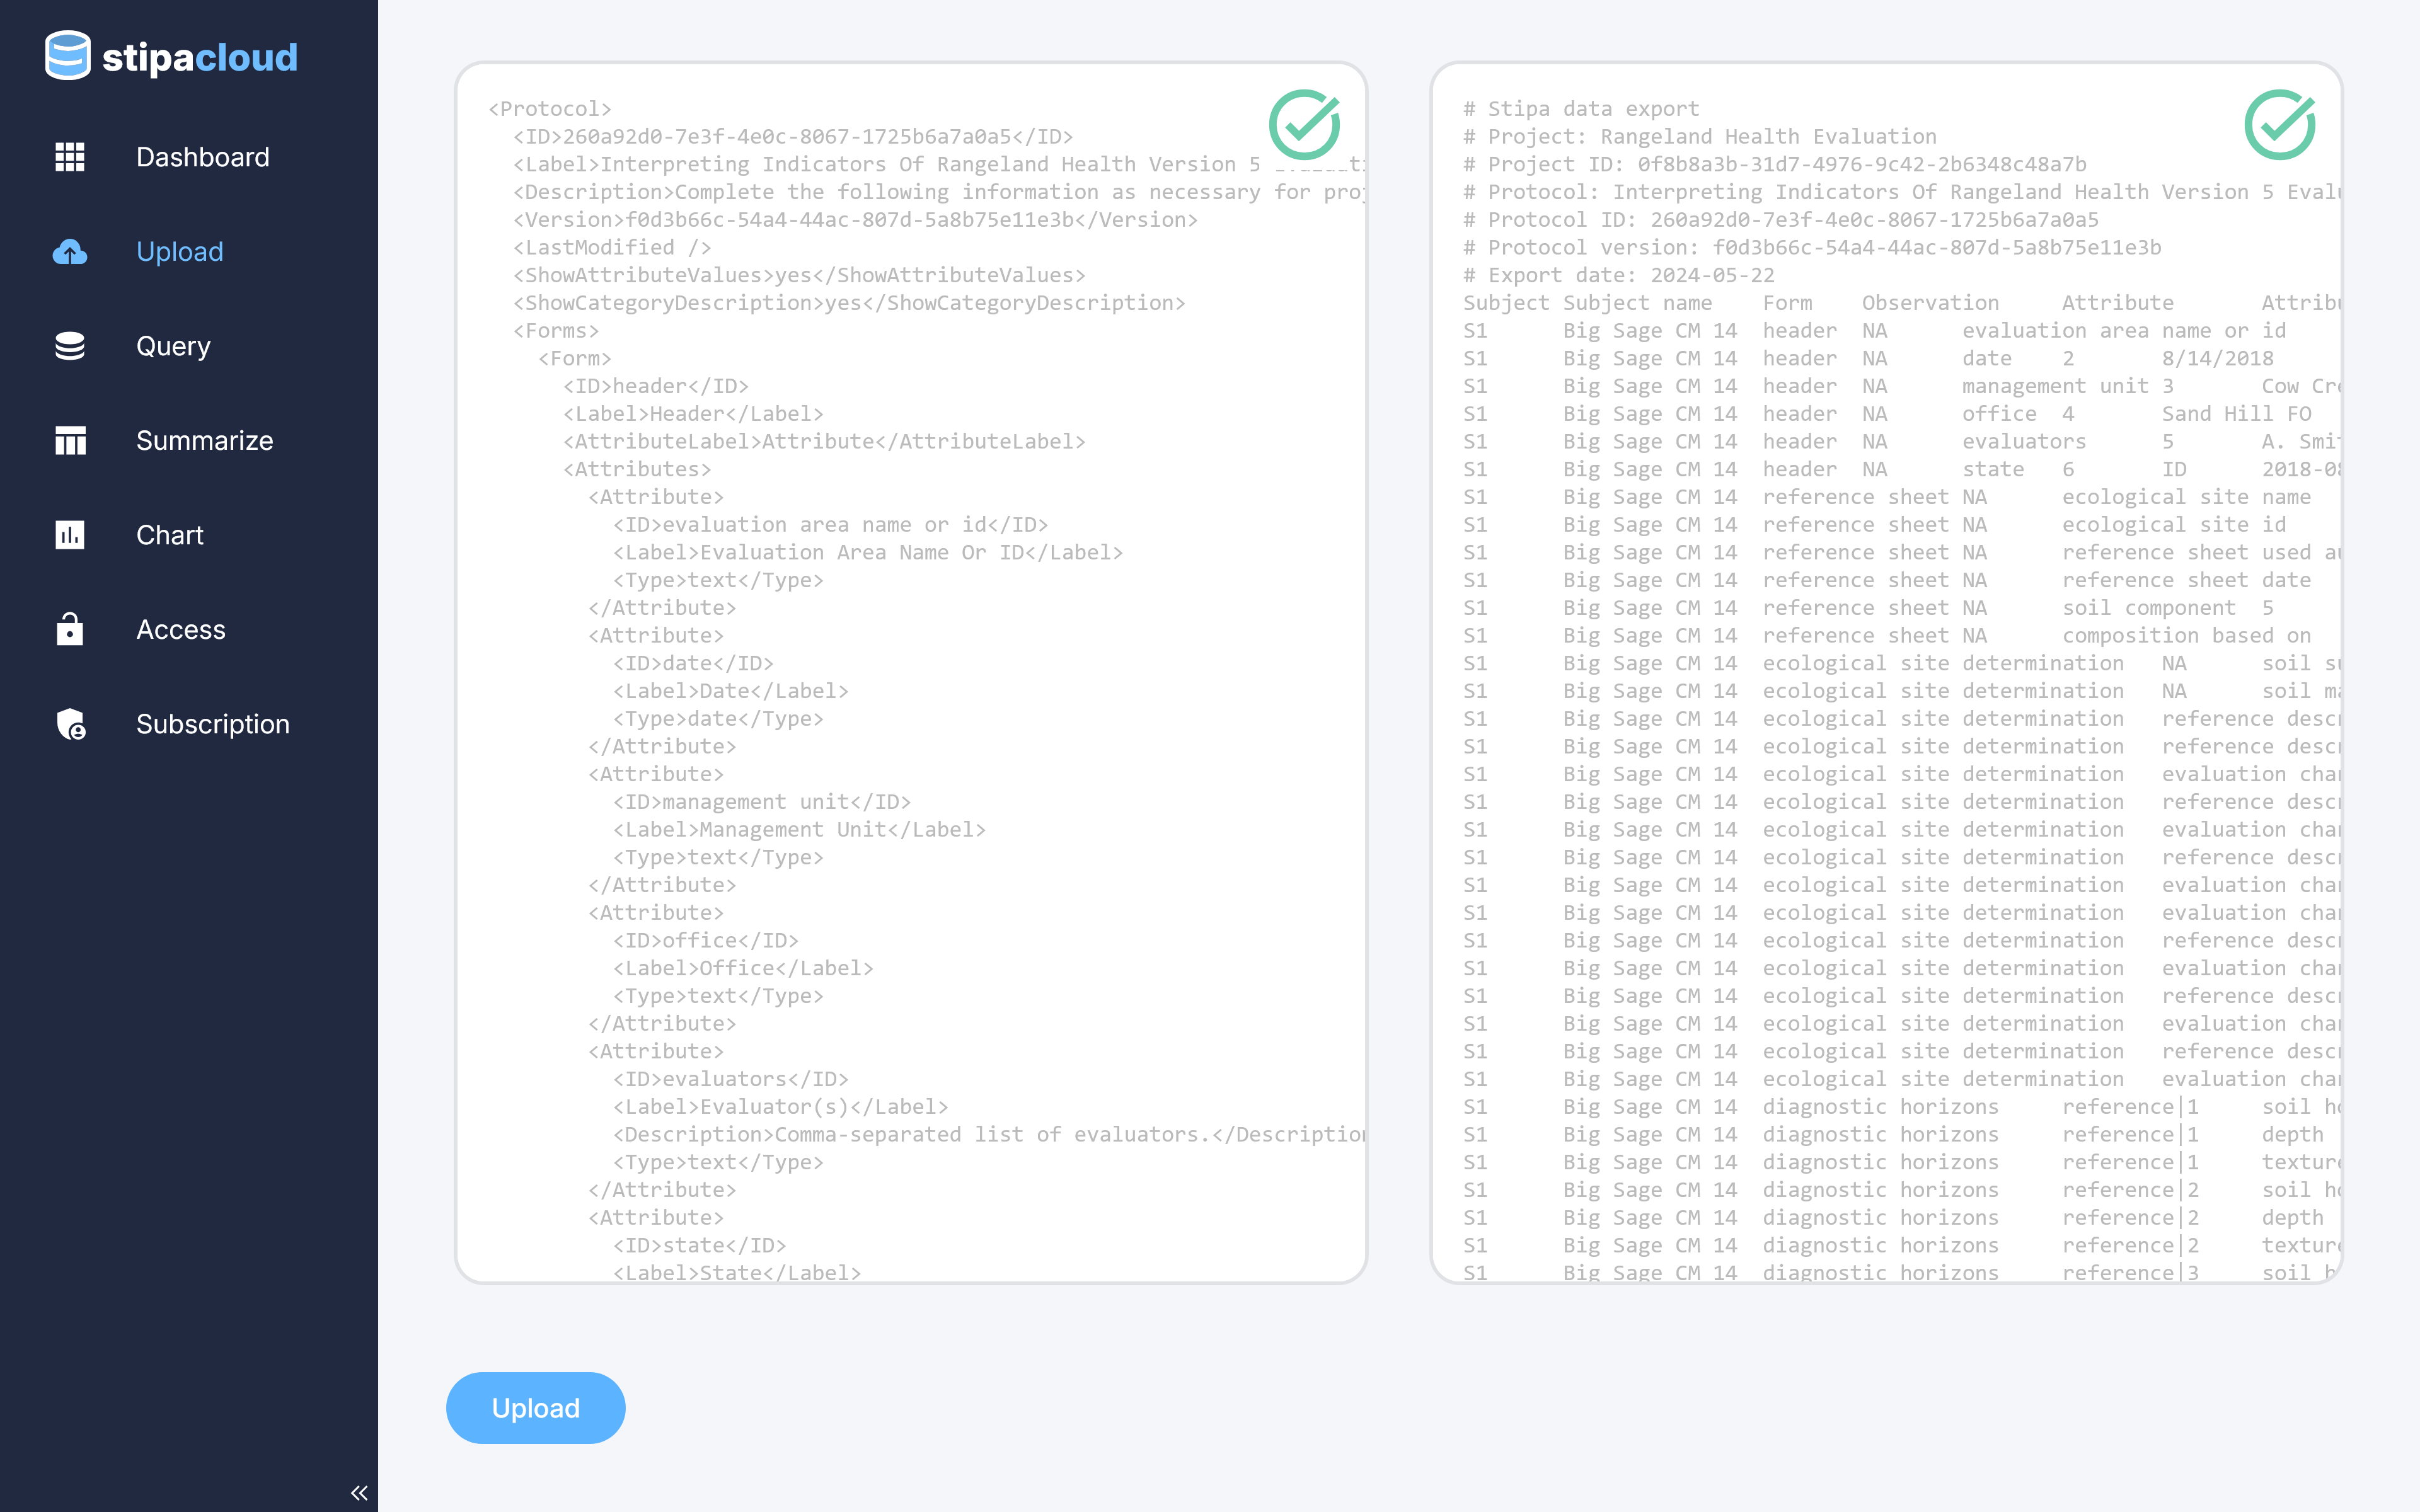
Figure 7. Viewing the extracted data file.
Uploaded data can be immediately accessed via the Dashboard view. If a Project already exists for the uploaded data, the new data are simply added to the existing Project data, ignoring any duplicate entries. Otherwise, a new Project is created.
Export, share, merge, rename, or delete a Project using the overflow menu located in the upper right corner of the catalog item.